Update web application in azure with code and database changes from your local machine
In this video we will discuss how to push changes (i.e both code and database changes) and update web application that is already deployed in azure. To migrate local database changes to azure SQL database we use entity framework code first migrations.
Current state of the web application
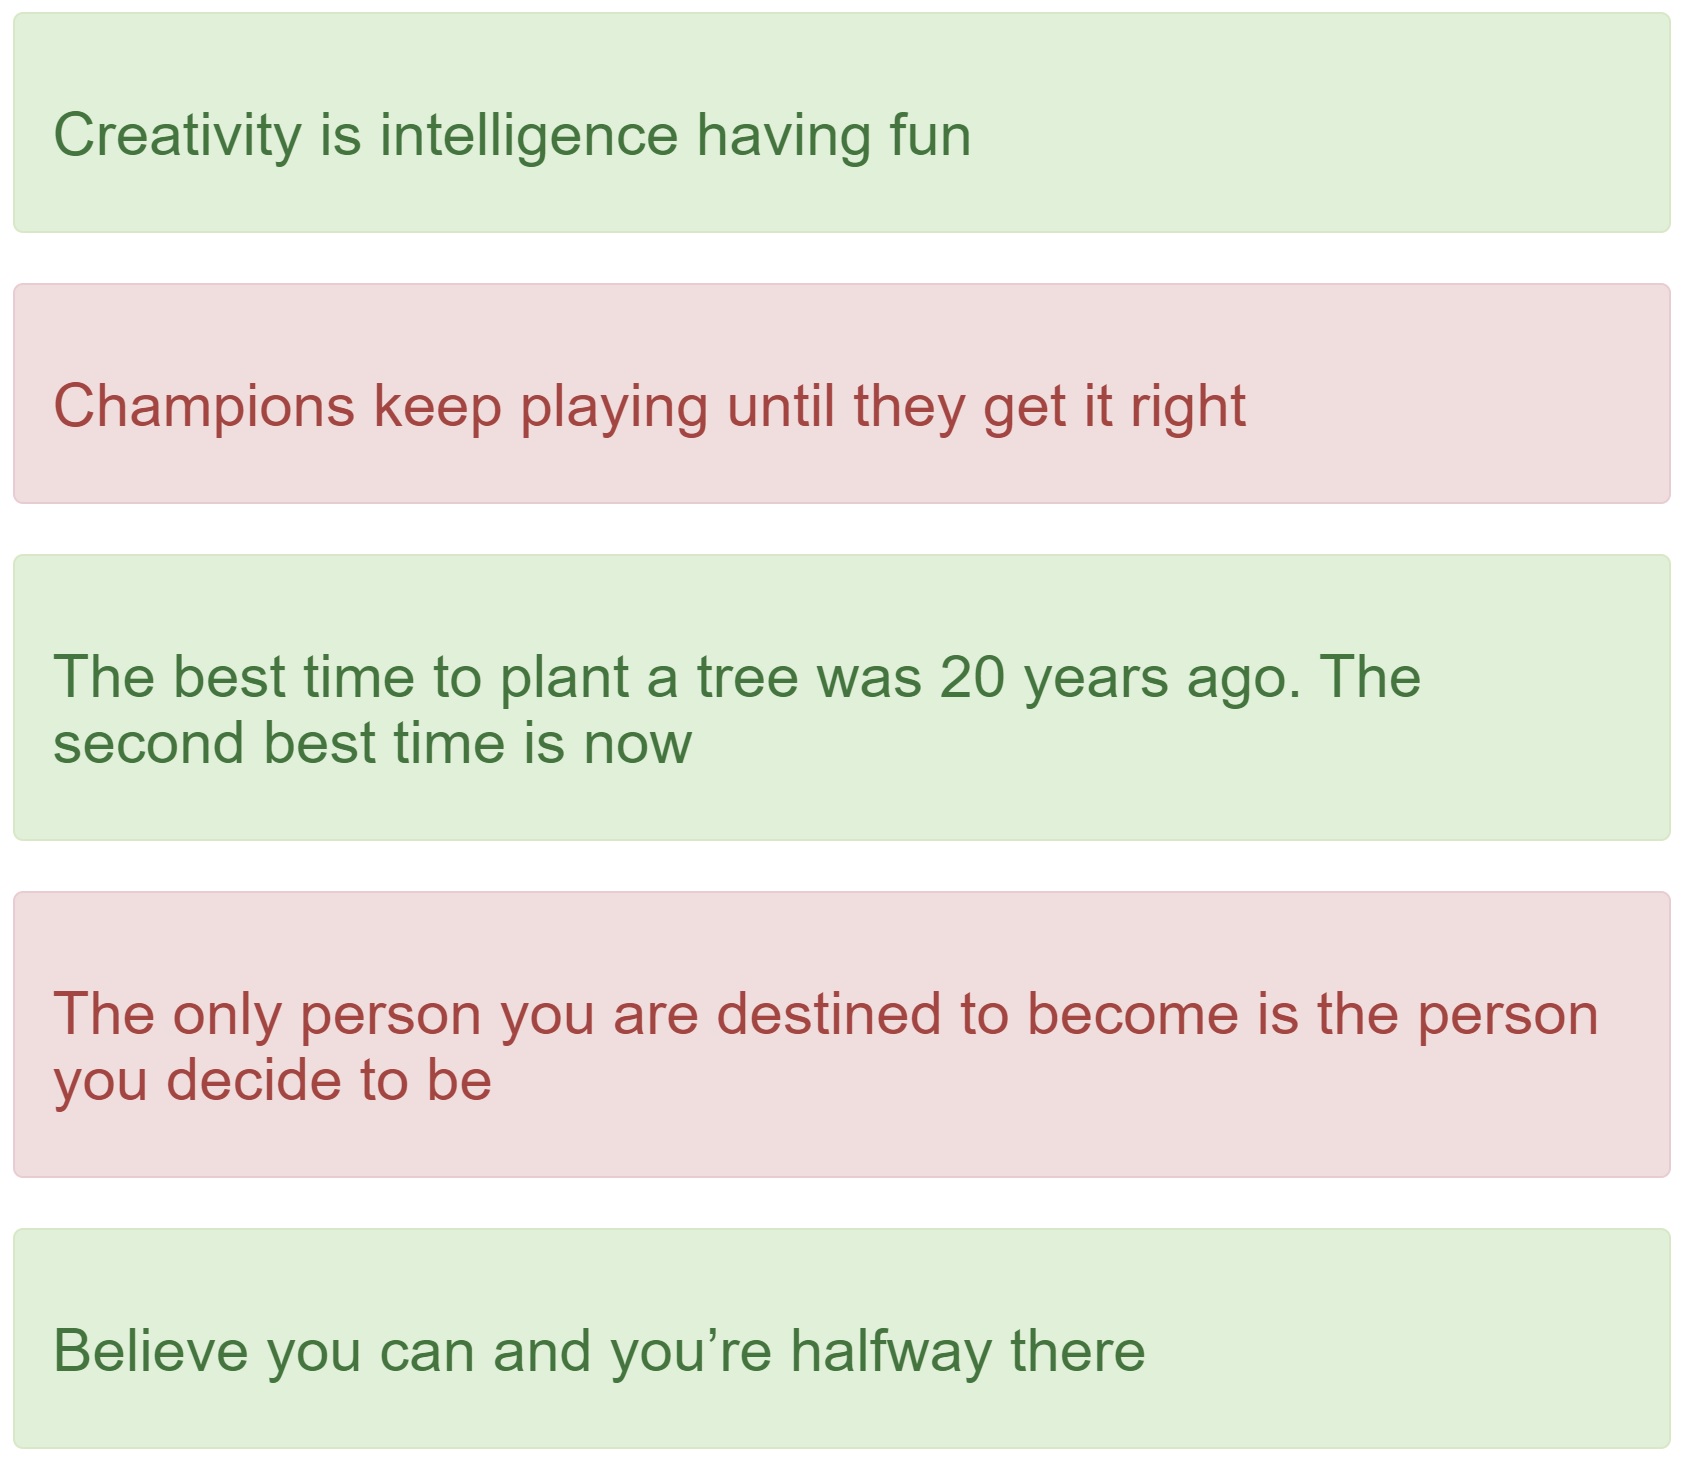
If you have been following along this course. We have a web application that displays inspirational quotes as shown below.
These quotes come from the following Quotes table.

At the moment, this app is already deployed in azure. We discussed how to do this in our previous videos in this series.
Changes being made on the local machine
Introduce Author column in the Quotes table and populate the values as shown below.

On the web page, along with the quote, the author name also must be displayed as shown below.

Changes on local development machine
Go to Package Manager Console (View - Other Windows - Package Manager Console) in Visual Studo and enable entity framework migrations using the following command.
Enable-MigrationsAdd Author property to the Quote class
public class Quote
{
    public int Id { get; set; }
    public string QuoteText { get; set; }
    public string Author { get; set; }
}
Add a new migration using the following command. This creates the required code to add Author column to Quotes table.
Add-Migration Add_Quote_AuthorIn the Migrations folder, you will see a new file created (file name ends with Add_Quote_Author.cs). Modify this file to include values for the newly added author column as shown below.
namespace Quotes.Migrations
{
    using System;
    using System.Data.Entity.Migrations;

    public partial class Add_Quote_Author : DbMigration
    {
        public override void Up()
        {
            AddColumn("dbo.Quotes", "Author", c => c.String());

            System.Text.StringBuilder sbQuery = new System.Text.StringBuilder();
            sbQuery.Append("Update Quotes Set Author='Albert Einstein' Where Id = 1;");
            sbQuery.Append("Update Quotes Set Author='Billie Jean King' Where Id = 2;");
            sbQuery.Append("Update Quotes Set Author='Chinese Proverb' Where Id = 3;");
            sbQuery.Append("Update Quotes Set Author='Ralph Waldo Emerson' Where Id = 4;");
            sbQuery.Append("Update Quotes Set Author='Ralph Waldo Emerson' Where Id = 5;");

            Sql(sbQuery.ToString());
        }

        public override void Down()
        {
            DropColumn("dbo.Quotes", "Author");
        }
    }
}
Execute the following command to apply this migration to the database
Update-DatabaseModify default.aspx to display Author name as shown below.
<div style="padding-top: 20px">
    <asp:Repeater ID="repeaterQuotes" runat="server">
        <ItemTemplate>
            <div class="alert alert-success" role="alert">
                <h3><%#Eval("QuoteText") %></h3>
                <p style="text-align: right; font-style: italic">
                    - <%#Eval("Author") %>
                </p>
            </div>
        </ItemTemplate>
        <AlternatingItemTemplate>
            <div class="alert alert-danger" role="alert">
                <h3><%#Eval("QuoteText") %></h3>
                <p style="text-align: right; font-style: italic">
                    - <%#Eval("Author") %>
                </p>
            </div>
        </AlternatingItemTemplate>
    </asp:Repeater>
</div>
Run the app locally and you should see the author name along with the quote itself.
Deploying local changes on the production server in azure
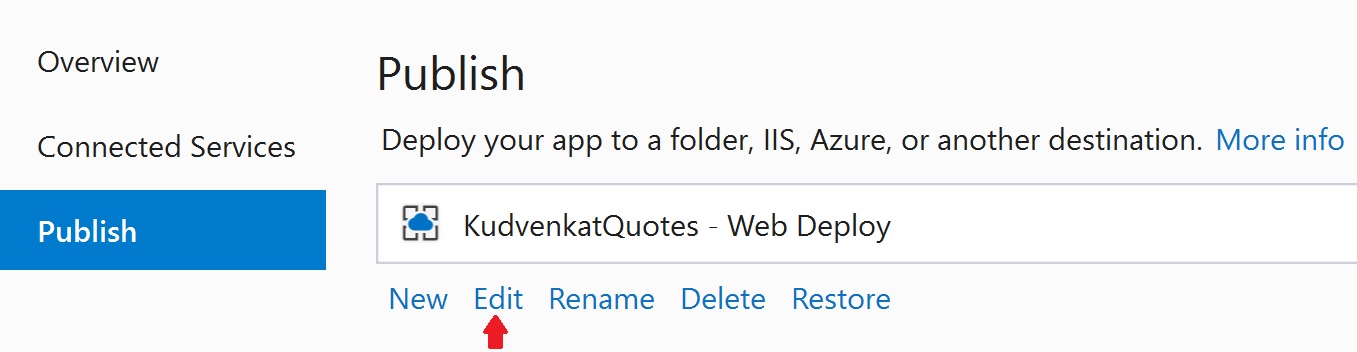
Get to to the Publish window in visual studio (Right click on the project name in solution explorer and select Publish)
On the Publish page, click on the Edit link.
Click on the Settings tab. Select the connection string from the dropdownlist and check the 2 checkboxes. Click Save
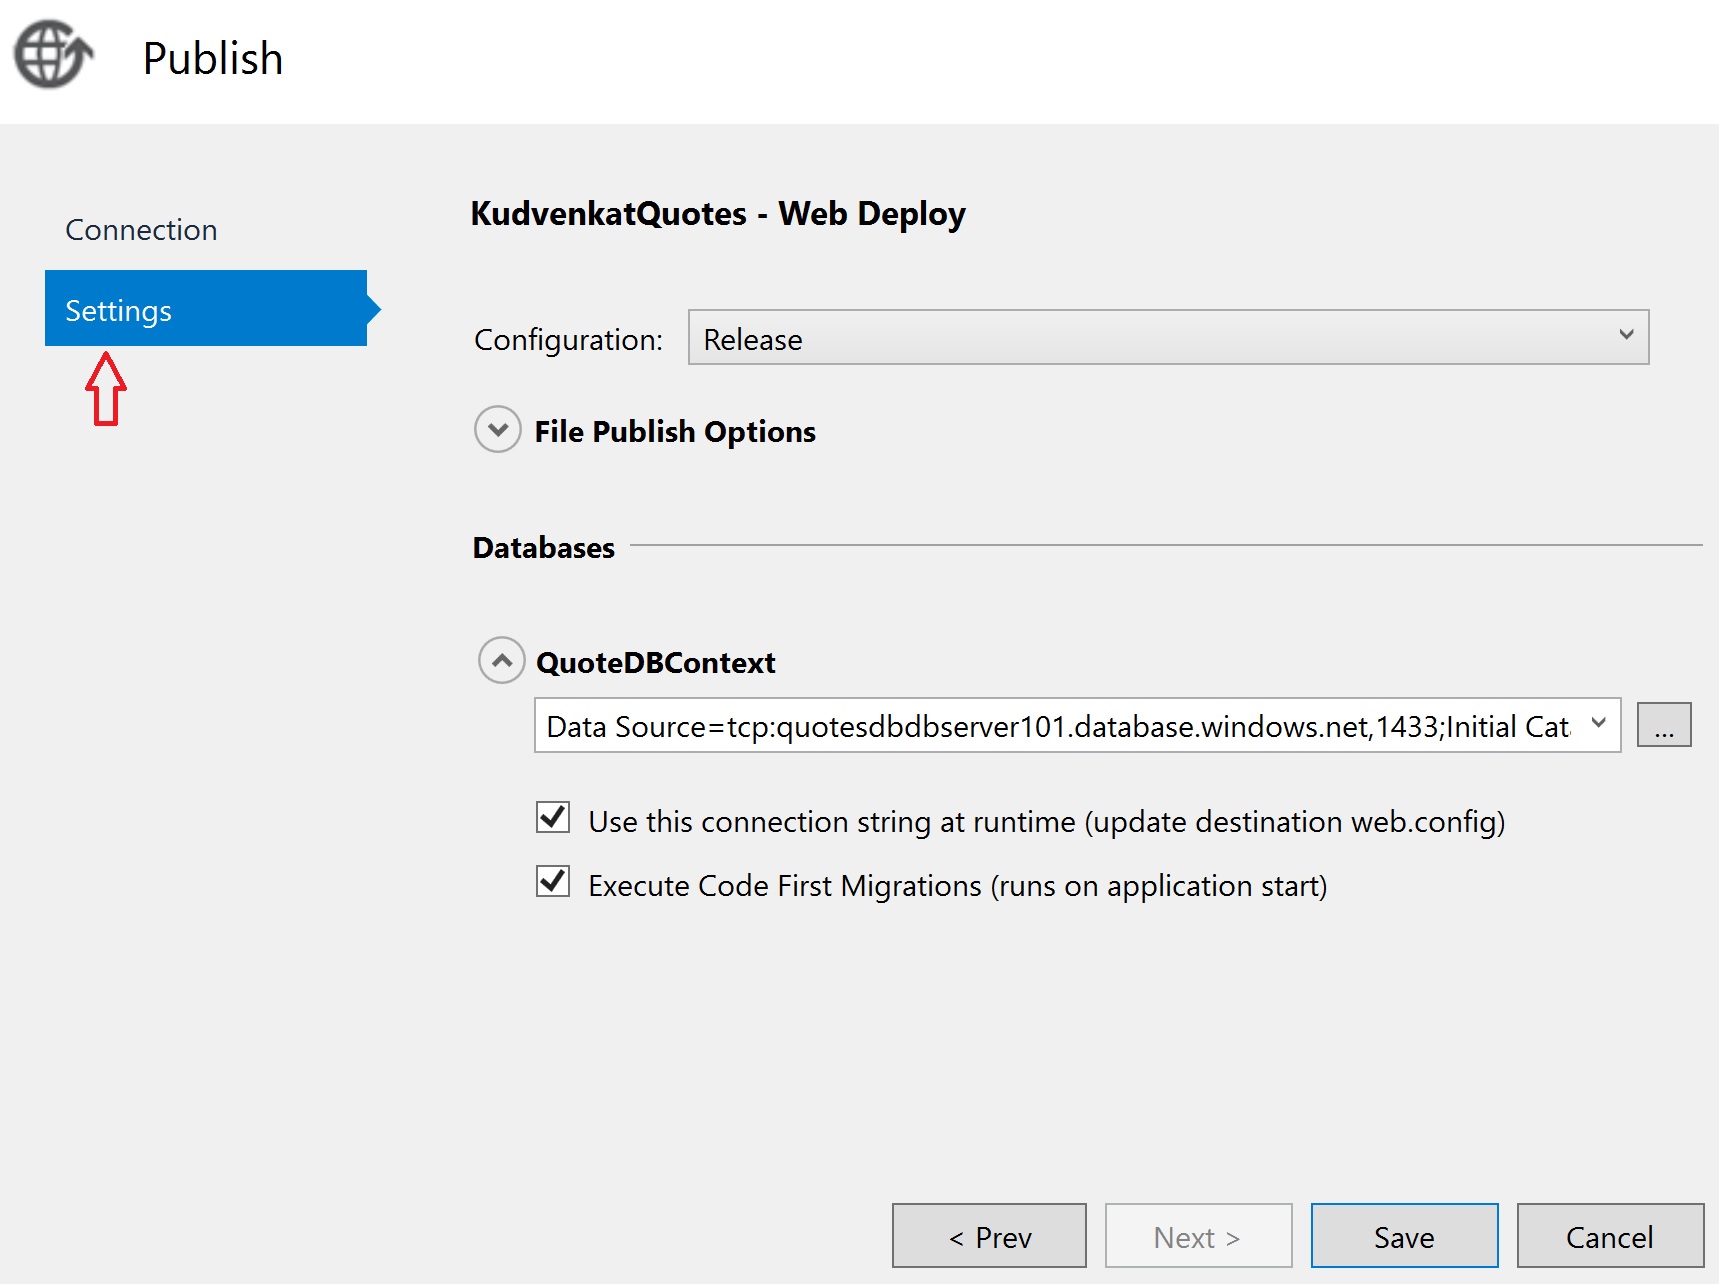
Finally click on the Publish button to publish application code.
At this point you should see the author name along with the quote.


© 2020 Pragimtech. All Rights Reserved.